Up To The Hills…

By last Monday the news was basically forecasting the end of the world in California from the “massive” storm headed our way. All reports were warning of 8-10″ of rain in the lowlands and 6-10 feet of snow in the mountains. When my buddy Tim said he and a friend were making a trip to Mammoth, I couldn’t help but ask to come along. If there was too much snow and we couldn’t make it I could at least take some pics, and if we got there it would hopefully be some awesome conditions.

Friday night we drove up to Bishop, arriving by midnight after hours of heavy rain and high winds, making the journey a bit longer than usual. By 5:30am we were on the road north to Mammoth. When the lifts opened at 8:30 we were near the front of the small line and cutting fresh lines through powder a few minutes later. Running through the trees, I had an encounter with one which did some damage to my leg and took me out of action in the early afternoon, unsure of what I could do on Sunday. Sat night we drove through blizzard conditions which required a police escort up the 395 to June Lake. Waking up on Sunday morning and looking out the window of our cabin, I saw beautiful blue skies and snow covered peaks in every direction. When we arrived at June mountain for a day on the slopes, I had to suck up the pain in my leg, and get out there, it was just too good! So we spent all Sunday running black and double black diamonds in awesome conditions, and there was hardly even anyone out on the slopes and never a line for the lifts! I think it will be hard to ever beat a day like Sunday. I took a few pics, but preferred to spend my time enjoying the conditions.

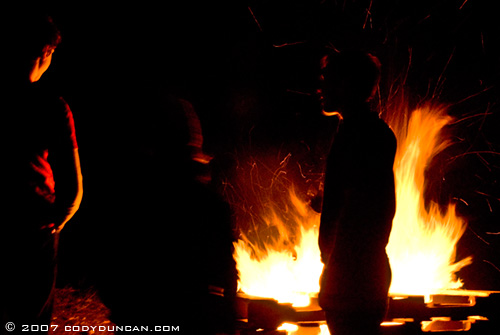
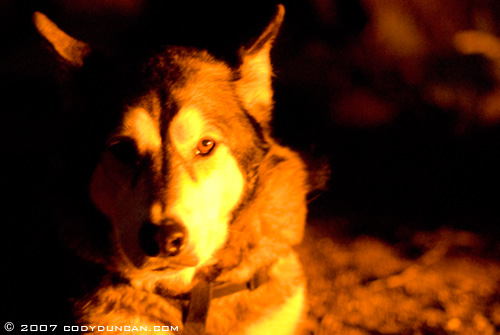
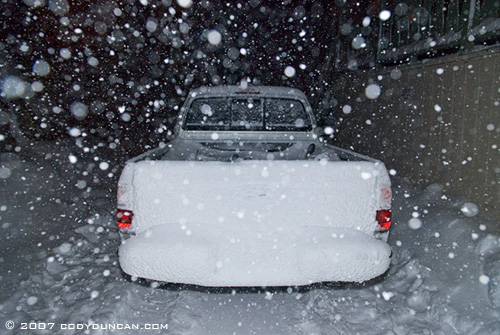
Saturday night at June Lake

© cody duncan photography.  Snow covered truck in storm

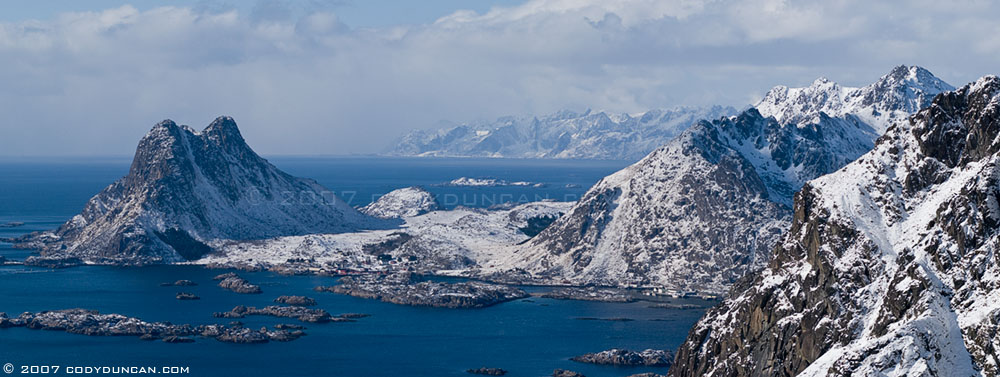
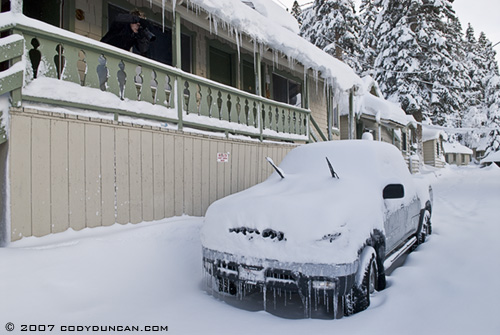
Sunday Morning at June Lake

© cody duncan photography.  Snow covered truck after storm

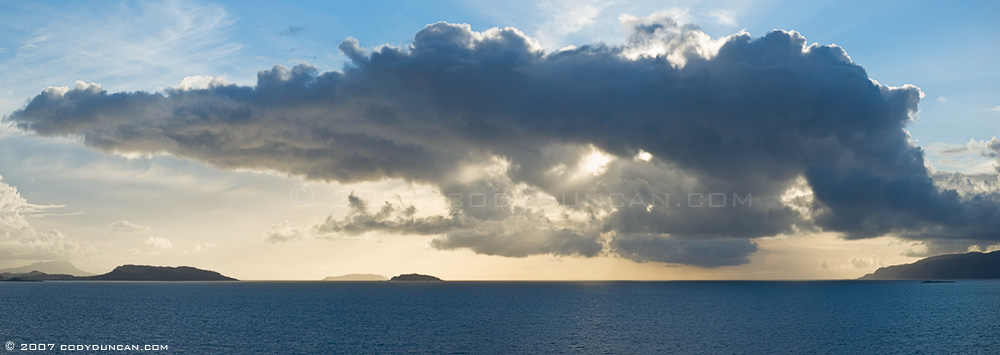
Pano from the top of the first lift at June mountain; June lake in foreground, Mono lake in background (click to see larger)

© cody duncan photography.  Panoramic view of snow covered eastern sierra and Mono lake and June lake

Tim on some steep slopes

© cody duncan photography. skier in powder snow at June Mountain, California

Seth cutting through some fresh stuff
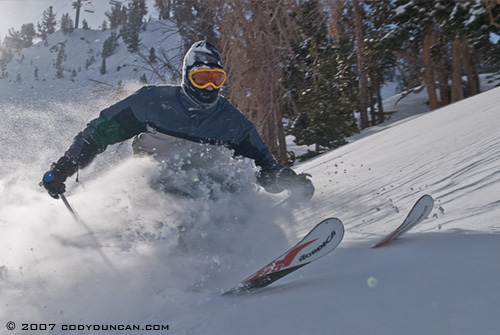
© cody duncan photography. skier in powder snow at June Mountain, California

© cody duncan photography. Ski lift at June moutain

Too much fun!

Winter and Summer

Stamsund

Stamsund Lofoten Islands

© cody duncan photography. Panoramic photograph of Stamsund, Lofoten, Norway

Firth of Lorn

From the southern end of Kerrera. Islands of Insh, Garvellachs, Seil and Scarba. Oct 2006

© cody duncan photography.  panoramic photograph of Firth of Lorn from southern end of Kerrera Island, Scotland

Loch Tay Monster?

I was doing some editing and saw this weird looking thing. object enlarged to 300%. Nothing appears in the photo I took 25 seconds before. Perhaps Nessie has a cousin?

My theory on the Loch Ness Monster: Loch Ness is perhaps the ugliest loch in Scotland; you aren’t missing anything if you don’t see it. So in order to get tourists to visit the area, they created the story of Nessie and now the loch is a cash cow for the whole region.

© Cody Duncan Photography.  Loch Tay, Scotland

Sonnenwende

A group of people gathered on the dark night. The days now grow longer…

© 2007 cody duncan photography

© 2007 cody duncan photography

© 2007 cody duncan photography

© 2007 cody duncan photography

© 2007 cody duncan photography

© 2007 cody duncan photography

Simple Panoramics with Tilt/Shift lens.

Simple Tilt/Shift panoramic technique.

I like using a Tilt/Shift lens for my panos because the post processing is super simple and I don’t have to carry a separate rotating tripod head specifically for panos. Though I do have to carry a specific lens, my Nikon 85mm F2.8 Tilt/Shift is also a macro lens, so I can sort of kill two birds with one stone. If all is done correctly, I can put an image together in around 1 min or less. When moving elements enter the scene, such as water, that is where the fun starts; I’ll post on this in the future.

Requirements:

  • Tilt/Shift lens
  • Tripod
  • Cable release (not necessary, but helpful)
  • Photoshop

In the field:

Be sure the camera is in manual exposure mode. The camera can be used in either portrait (vertical) or landscape (horizontal) orientation, depending on subject and what you want to do. If shooting horizontal panos in landscape orientation, only 3 shots are necessary, left, center, and right. When shooting vertical panos in landscape orientation, I will usually take 4 shots, as the overlap is a bit thin with only 3, so 4 will give you a bit more to work with if there is any complex blending required (this depends on subject, and in general 3 shots are adequate). You can also experiment with utilizing focal plane shift in combination with panos for some cool and creative results.

(more after the jump)

Read more

Stamsund

The first time I saw this view (without the snow) was in the summer of 2001, sometime around 2:00 in the morning. It’s from a little mountain on the way to Steinetinden. It’s a very easy hike in summer, which gives an amazing view from the summit. When it’s covered with fresh snow, it’s a bit more difficult, but the view is better and worth the effort, though one wrong move near the top would mean a fall of around 700 feet.

© cody duncan photography. Stamsund, Lofoten

Ocean – Rock

© cody duncan photography. Rock in ocean in Northern california